Saturday, July 14, 2012

Peaches' Peach Muffins

It is a well known fact that my mom calls me Peaches so in honor of my own nickname and the new character from Ice Age 4 named Peaches, I have come up with a peach muffin recipe!  Summer is a good time for peaches anyway.  However, I used canned peaches because the peaches at my grocery store didn't look the greatest.

Peaches' Peach Muffins

1/2 c. white sugar
1/2 c. brown sugar
1/2 t. cinnamon
1/2 t. nutmeg
1 t. vanilla
2 eggs
1/2 c. oil
1 1/2 c. flour
1/2 t. baking soda
1 can peaches, diced

Preheat your oven to 350 degrees.

I started by just putting the sugars, cinnamon, nutmeg, vanilla, eggs and oil into a bowl.  I carefully stirred everything together.  I really using the nutmeg along with the cinnamon because then these muffins taste like spiced peaches.
The batter will look darker.

Next, I added the flour and baking soda.  I only added about 1/4 c. of the flour at a time.

Mix thoroughly, don't just leave it like this.
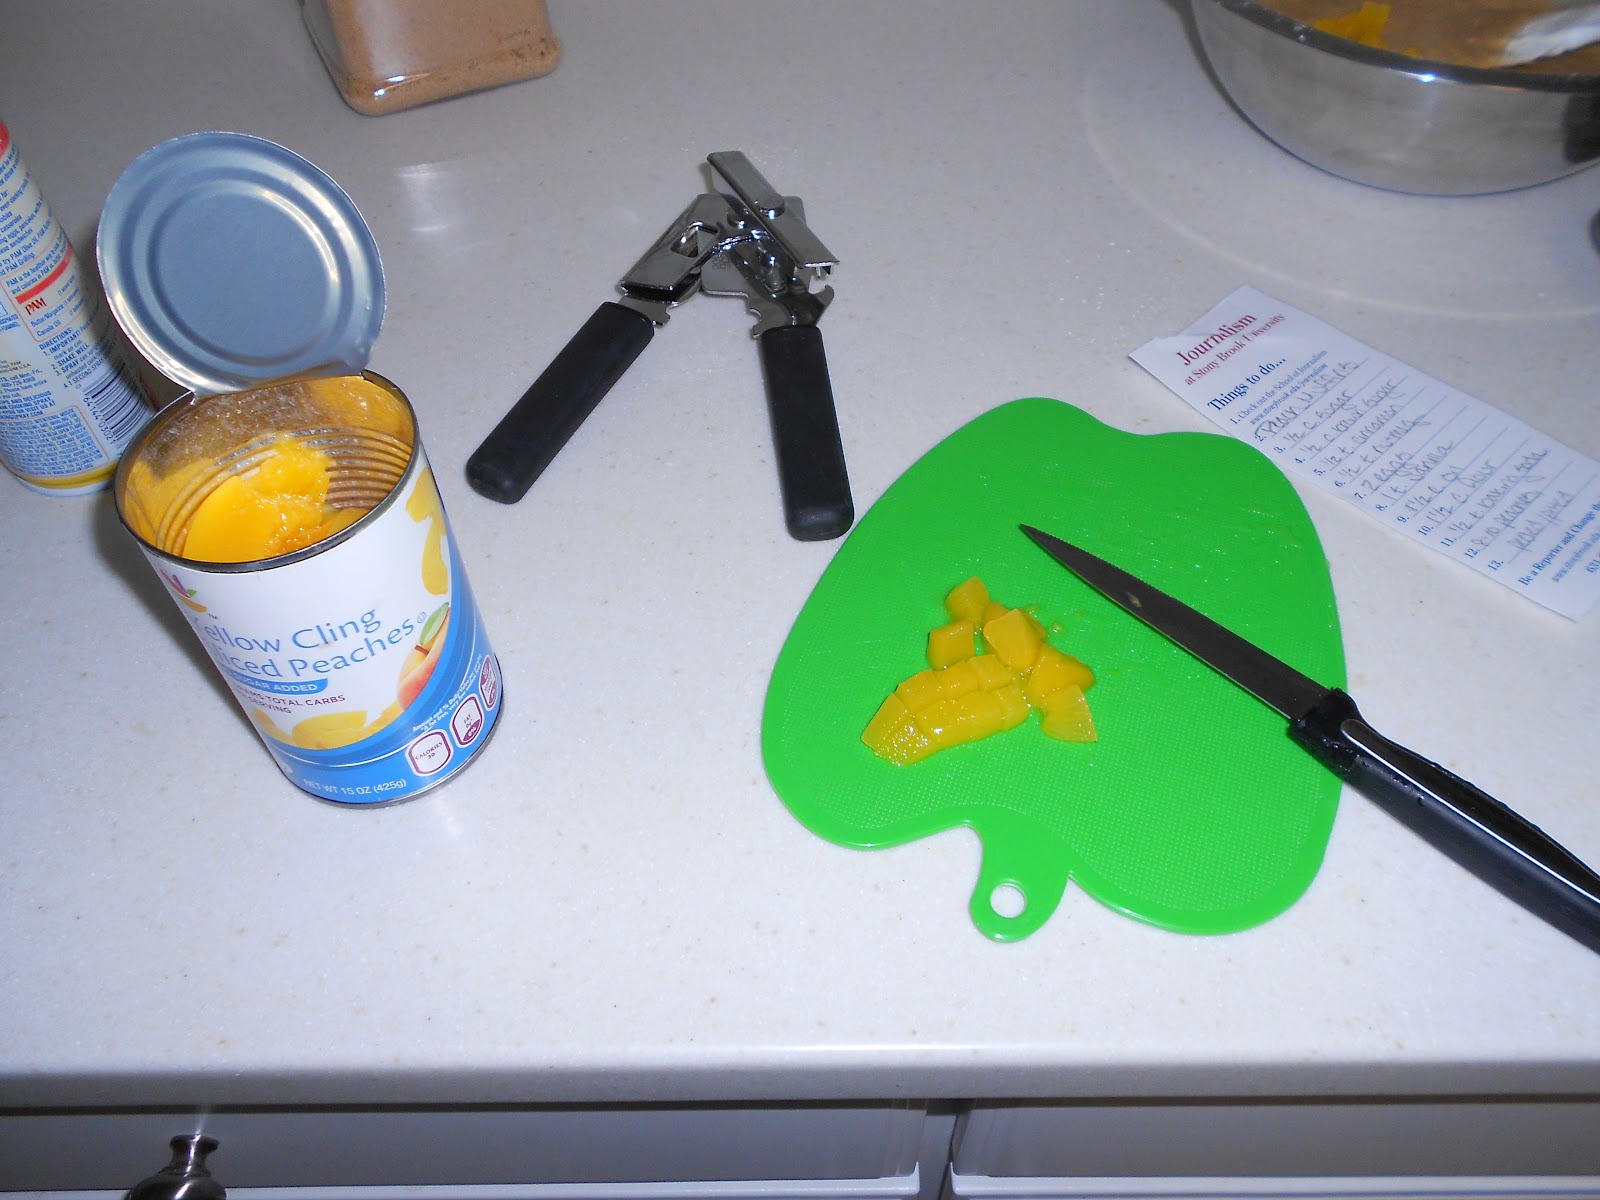
I diced up my peaches into pieces.  If you are using fresh peaches, peel and pit them before you start dicing.

I think this is the first time I've ever needed to use my can opener.
I folded the peaches into the batter gently.  I didn't want the peaches to be mushed up into it.

Maybe I should just make a cake...
I poured the batter into my greased muffin tin, filling each only about halfway before popping them into the oven.
I may have filled these a little too much.

I baked mine for about 25-30 minutes or until a toothpick comes out clean.

The last three looked pretty...
Let them rest in the tin for a minute before removing them to a cooling rack.  Mine did not want to cooperate and come out of the tin.  They don't look the prettiest, but they taste really awesome.  And I'm going to pick up another bottle of PAM soon.  Enjoy your summery muffins and don't forget your laundry in the washing machine.
These not so much...still taste great!


Friday, July 6, 2012

The Patty Melt

Tonight's dinner was probably a tad more American than my Patriotic Chicken Strips.  I recreated on of my all time favorite meals: The Patty Melt!  Now, I have not found a restaurant out here that does them.  And some people I've talked to have know clue what patty melts are.  Such a shame.

The Patty Melt

1 lb. ground beef
1 T. garlic powder
1 1/2 t. pepper
1 t. salt
1/4 c. teriyaki or soy sauce
1/4 c. bread crumbs
1 egg

bread
butter
slices of cheese
sliced onions

To start, I made the patty part.  I mixed the beef, seasonings, sauce, crumbs and egg all together in a bowl.  

I use my hands to mix and really scrub after.
A formed the patties and put them on the pan.  

You can definitely do this on a proper grill.
I had them on a medium heat and cooked them for about 15 minutes.  I like my burgers with some pink the middle.  I slide the patties onto a baking sheet and into the oven to keep warm.

Still got a decent crisp.
Moving on, I poured off most of the grease from the pan.  I then sauteed the onions in the same pan on a low heat.
These didn't make me cry!
Next, I removed the onions.  

Grilled cheese?  What?
I buttered the bread like I was going to make grilled cheese, and then, I toasted the bread in the very same pan.  
Toasting 
I have wheat bread, but a traditional patty melts go on rye bread.  I put the sliced cheese on.  I used cheddar, but swiss or provolone is always good.

Going to be so great!
 I fetched a patty out of the oven and assembled my sandwich.  
Picture perfect.
So greasy and yummy!  I tried to take a picture of how satisfying it was, but my hands were too messy.

Wednesday, July 4, 2012

Patriotic Chicken Strips

Happy Fourth of July everyone!

Today's lunch is fancy: chicken strips.  I titled this Patriotic Chicken only to be extra American today.  There is nothing really patriotic about them.  I mean, fried chicken is pretty American, right?  I didn't fry these, but you could.

Chicken Strips

2 large boneless, skinless chicken breasts
1/3 c. flour
1 t. garlic powder
1 t. salt
1 t. pepper
1 egg
splash of milk
1 c. bread crumbs

Preheat your oven to 450 degrees.

I rinsed my chicken off, cut off any fatty bits, and then cut it into strips.

Then a poured the flour onto a plate and mixed in all the seasonings.  I have a Mrs. Dash season mix which is Fiesta Lime.  Basically, it's paprika and cayenne and some other stuff.  I wanted strips with a kick so I add a Tablespoon of that stuff.

In a bowl, I mixed up the egg and a splash of milk.  I also added a few splashes of hot sauce.  I was just in a spicy mood.  I suppose mustard would also be good to add to the egg mixture.

I poured the bread crumbs onto another plate.  If you don't have bread crumbs, you can always smash up cereal like corn flakes or Chex.
Assembled and ready for chicken!

 Here comes the fun/messy part!  Dredge the chicken through the flour.
Really season the flour!  It helps.
Dunk them in the egg.
Look, my fingers!

Move onto the bread crumbs and coat them.
Can you even tell what's going on?

Place onto a cookie sheet or baking sheet.  I greased mine up just to be on the safe side.
I swear, I only cut up two chicken breasts!
Doesn't it look like a lot?

Slide the chicken in the oven close to the top to crisp up for about 10 minutes.  After the first 10 minutes, I flipped each of the pieces, and then moved the pan to a lower rack for another 20-ish minutes.

I can't wait to have this again for dinner!
Let them cool for a bit, hopefully they turn out as juicy as mine.  I did use mustard salad dressing for dipping sauce, and I have to say, this is the best thing I've made in a while.

Sunday, July 1, 2012

Meatballs

Sunday morning naturally means meatball making, right?  Of course, and then you don't have to worry about making dinner super late tonight after work!  Thinking ahead, I learned it at college.

Want to hear a semi-bad Italian joke?  

Why are a lot of Italian men named Tony?  
When they got onto the boat to America, they had To NY (TONY) stamped on their foreheads.  

Yep, I know that was a bad one and that I chuckled.

Meatballs

1 lb-ish ground beef
1 egg
1/4 c. parmasean cheese
1/4 c. bread crumbs
1 t. garlic powder
1/2 t. pepper
any Italian herbs

Preheat your oven to 375 degrees.

Again, I buy a package of ground beef and then portion and freeze it.  So I had this much...?
MEAT!

In a mixing bowl, combine everything!  Here are some Italian herbs that I googled because at 10am, I can't think for myself.  Oregano, basil, parsley, sage are good to throw on in.
Meat and everything else.

Once everything is well mixed, either by hand or spoon, start to form your balls.  I made smaller, bite-sized ones.  Just note, the bigger you make them, the longer they'll need in the oven.
I could totally just eat this for breakfast.

Bake you meatballs for about 20 minutes.  I cut one in half to see if they were done, as in no pink inside.
There will be little pools of fat.  You don't need to eat this.

Buon appetite!  Or enjoy later like me over some pasta with spaghetti sauce.  I'll post a picture later.

Friday, June 29, 2012

Pizza from Scratch

So my Friday nights are extremely lively out here.  I am working on a paper for class, doing laundry and just made pizza from scratch.  I'm so cool and will absolutely brag about it.

The pizza crust recipe I used is the same one my momma follows and is from Still Life Menu by Mollie Katzen.

The Crust

1/2 c. lukewarm water or milk (baby bath water temp)
1 pkg active dry yeast
1/4 t. salt
1T olive oil 
1 1/4 c (approx) unbleached white flour

In a mixing bowl, pour the yeast into the water.  Now, let it get foamy for a few minutes.  I have stressed patience in these posts but here it is definitely needed!

If it hasn't done anything chemically interesting in 5-10 minutes, stir it up a little.

Can you see the foaminess?  Not a great picture.
Add the salt to the mix, and you can also add any herbs you would like here.  I have a lemon-pepper-herby seasoning mix that I sprinkled in.  Anything that sounds Italian would probably be great: basil, parsley, something like that.

Mix and mix and mix.  Now remix!
Slowly start to add and incorporate the flour about 1/2 c. at a time.  Knead carefully with a spoon or your hands.  Things should start to look doughy and smooth.  Add extra flour if things are too sticky.  However, you don't want things too dry.

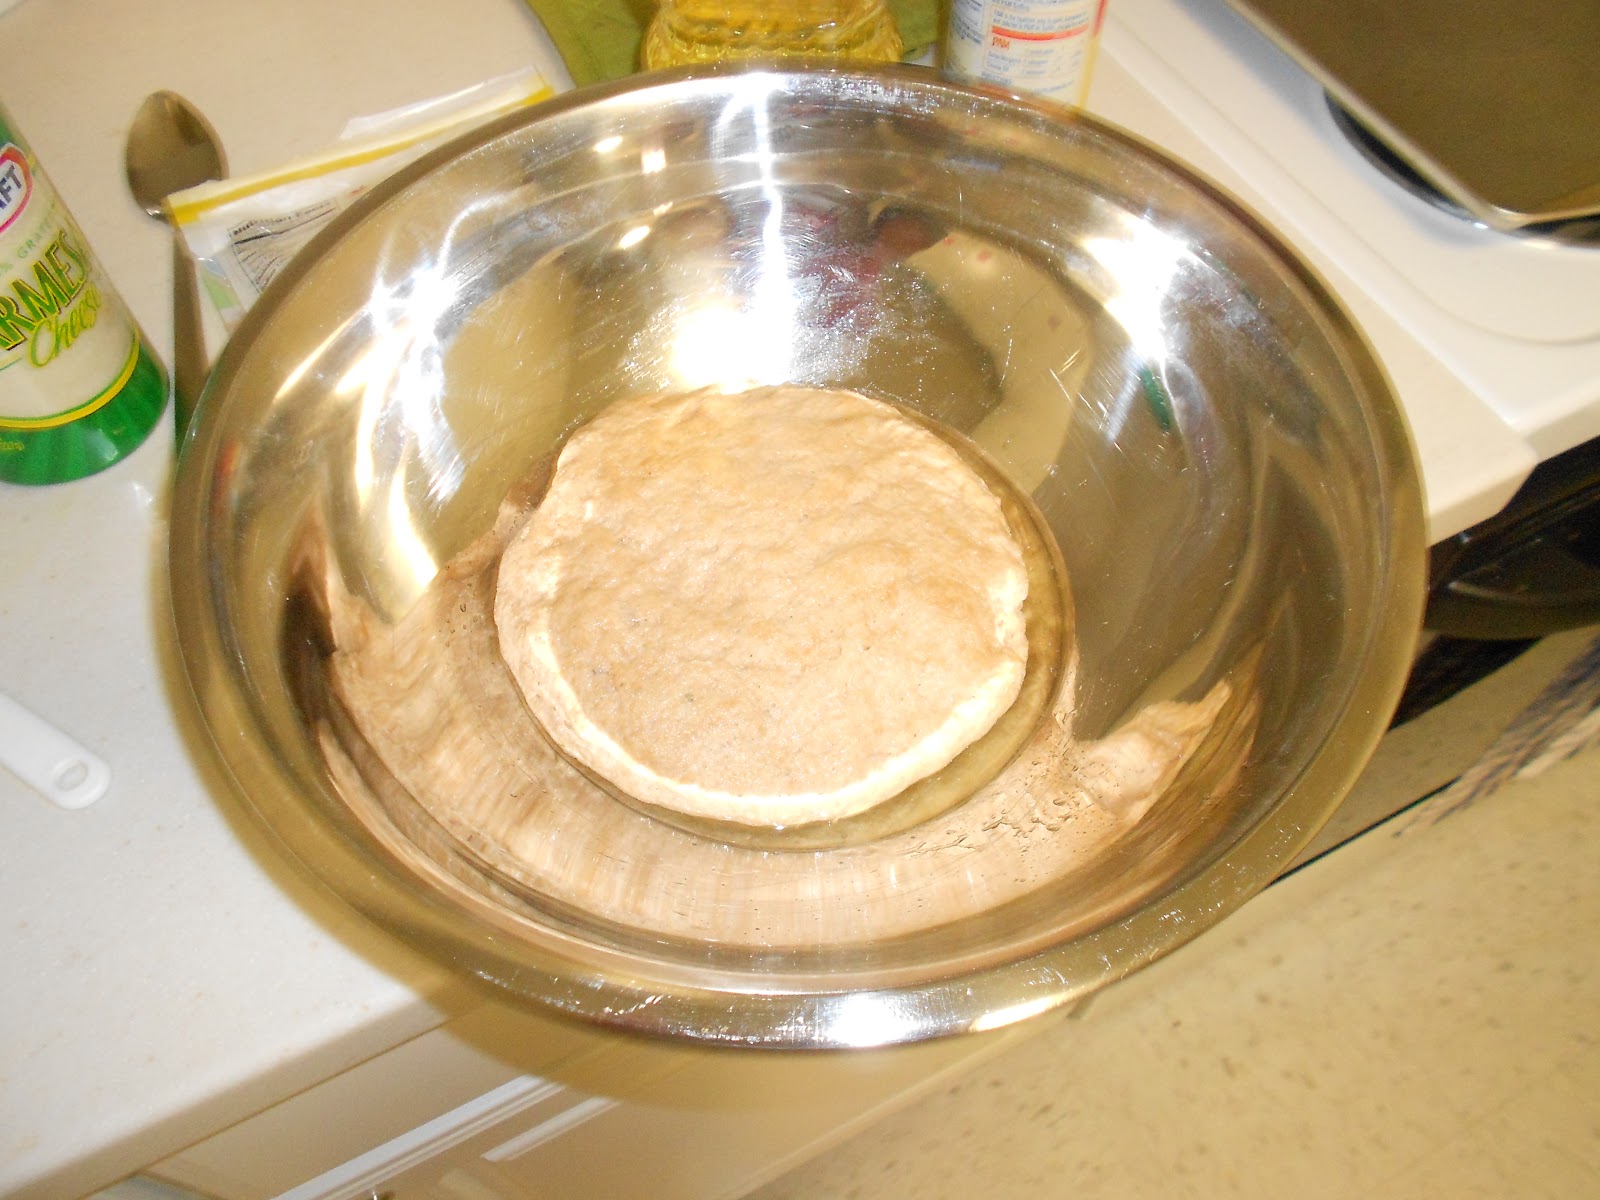
Transfer your dough to a different bowl that has the oil spread around it.  Roll the dough around the oil to keep things moist.  Cover the bowl with a towel and put in a warm area to rise.  Let it rise for about half an hour.

Now let science take over.
Walk away.  Watch a video on YouTube.  Do homework.

Come back to nicely risen dough and preheat your oven to 400 degrees.

Whoa!  It grew!
Grease a pan and start to spread out your dough.  Mine magically filled my entire pan and wasn't super thin or thick.  My mom likes to put cornmeal on the bottom of the pan so things crisp up, but I don't have any.  No worries.
Perfect fit!

It's topping time!  Top your pizza with anything!  I used spaghetti sauce to get a little saucy.  I also topped it with onions, green peppers, tomatoes and mozzarella cheese.  

Feeling vegetarian tonight.
I baked my pizza for about 25 minutes to make sure the crust was done all the way through.  Now enjoy and make your roommates jealous!

Commence stuffing your face.
So Stony Brook has taught me several things, one being that hot sauce goes on everything.  Pizza, grilled cheese, cake, anything.  Just kidding!  Hot sauce and cake would be terrible.

Monday, June 25, 2012

Chocolate Chip Cookies

First, let me just tell everyone about my weekend.  I basically worked all day Friday between both jobs and just passed out that night.  Bright and early at 6am on Saturday, the fire alarms went off in my building.  I threw on a sweatshirt and went outside with all the other residents to wait for everything to be taken care of.  We all went back in, and I tried to go back to sleep.  The alarms went off again at 7:30!  This time I put on sweatpants and a sweatshirt and went to a diner.  There was no chance of me going back to bed so I treated myself to coffee, a waffle and bacon.  I came back to my room and went to sleep for a couple of hours.

Now this morning, I couldn't sleep anymore so I was baking cookies around 9.  Just as I was about to slip the first batch into the oven, the fire alarm went off again.  I panicked slightly that it was my fault.  It was not, but I was so annoyed by it all over again.  I appreciate that Stony Brook's alarms are indeed working, but this was ridiculous!

Chocolate Chip Cookies

2 sticks of butter, softened
3/4 c. sugar
3/4 c. brown sugar
1 egg
1 t. vanilla

2 1/4 c. flour
1 t. baking soda
chocolate chips

Preheat your oven to 375 degrees.

One, make sure your butter is really softened.  I don't know what I was thinking this morning when I just took mine out of the fridge and went at it.  I was impatient?  (Another note: at home, I follow a recipe from this very old and battered Betty Crocker Kids Baking Book which uses half butter and half shortening.)

Cream together the butter, sugars, egg and vanilla in one mixing bowl.  Of course, my not-soft-butter took extra coaxing.  It's a good thing I hadn't done an arm workout in a while.

Cold butter.  No bueno.

In a separate bowl, combine the flour and baking soda.

I have whole wheat flour only because it comes in smaller bags.
I get scared I won't use it all.

Slowly start to incorporate the dry ingredients with the wet ingredients.  Add as many chocolate chips as you wish.  I used chocolate chunks to be cool.
And eat!  Just kidding, bake if you wish.

Place spoonfuls of the dough onto an ungreased baking sheet and pop them into the oven for about ten minutes.  The bottoms should look firm and browned.  Transfer to a college style cooling rack.

And this is when the fire alarm will go off.
Yum and hooray!  You weren't the one to set off the fire alarms, hopefully.  I'm taking this to tour guiding tomorrow.  We give two tours a day, and we're all always starving after the first so I'll be bringing sustenance again.
Let's remember our patience, and let them cool.

Thursday, June 21, 2012

Peanut Chicken Stir Fry

It's extremely hot here in Stony Brook; I'm talking high 90s!  I nearly melted at the gym this morning, and it was 7:30am!  Isn't it supposed to be cooler in the morning?  So tonight I made a hot dish because that makes sense.  I mean, my apartment does have air conditioning.

Peanut Chicken Stir Fry

2 chicken breasts
1/4 c. flour
1/3 c. peanut butter
No need for this girl to buy a pre-made seasoning packet.
1/3 c. soy sauce
1 T. garlic powder
1 t. pepper
oil


I first cubed up the chicken into equal-ish parts and cut off any funky fatty bits.  I put the flour into a mixing bowl, and then dredged the chicken through the flour.  Dredge is a word right?  I tossed the chicken in the flour?
Beware of the oil spitting out at you!


To make the sauce, I mixed the peanut butter, soy sauce, garlic powder (use the real thing if you have it!), and pepper in a bowl.  Be gentle because although the peanut butter may put up a fight to be smoothed out, it will give in.

Heat a pan on the stove-top and coat it with oil.  Carefully put the chicken in the pan and commence "stir-frying".  The chicken will be cooked through in about 10 minutes.  I cut a piece in half to see if there was any pink in the middle.  

Once the chicken is cooked, you can add any vegetables to your stir fry.  I had baby carrots, frozen green beans and that red onion that I'm trying to get rid of.

Just as hot as it is outside!
Going to be eating leftovers!


Now, you can stir in the sauce and reduce the heat a tad.  I actually added a splash of water to the pan and covered it for a few minutes.  I wanted to make sure my frozen vegetables thawed.


And after you have used a million dishes to create this, you can eat!  I served mine over brown rice, which I cooked correctly this time.

I made this dish this past winter with my gal pals, and they were so skeptical of using peanut butter.  I showed them!  This one is super yummy!