Friday, June 29, 2012

Pizza from Scratch

So my Friday nights are extremely lively out here.  I am working on a paper for class, doing laundry and just made pizza from scratch.  I'm so cool and will absolutely brag about it.

The pizza crust recipe I used is the same one my momma follows and is from Still Life Menu by Mollie Katzen.

The Crust

1/2 c. lukewarm water or milk (baby bath water temp)
1 pkg active dry yeast
1/4 t. salt
1T olive oil 
1 1/4 c (approx) unbleached white flour

In a mixing bowl, pour the yeast into the water.  Now, let it get foamy for a few minutes.  I have stressed patience in these posts but here it is definitely needed!

If it hasn't done anything chemically interesting in 5-10 minutes, stir it up a little.

Can you see the foaminess?  Not a great picture.
Add the salt to the mix, and you can also add any herbs you would like here.  I have a lemon-pepper-herby seasoning mix that I sprinkled in.  Anything that sounds Italian would probably be great: basil, parsley, something like that.

Mix and mix and mix.  Now remix!
Slowly start to add and incorporate the flour about 1/2 c. at a time.  Knead carefully with a spoon or your hands.  Things should start to look doughy and smooth.  Add extra flour if things are too sticky.  However, you don't want things too dry.

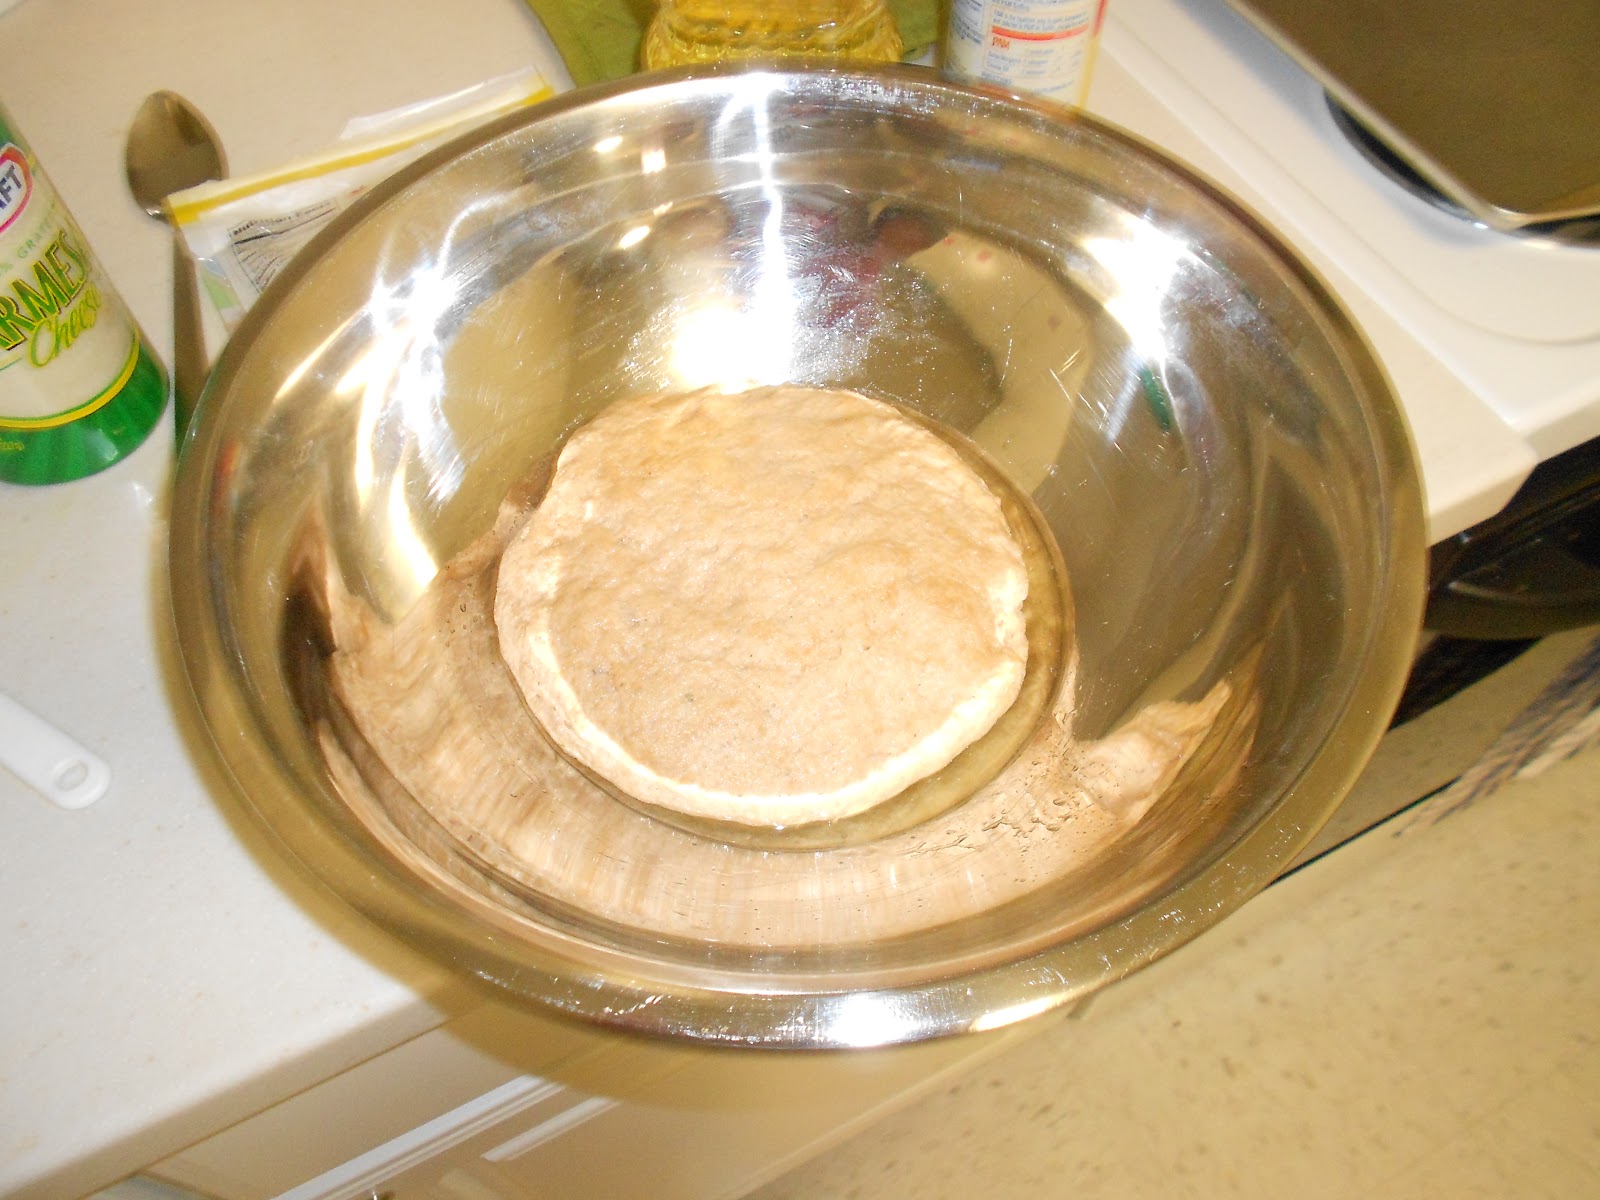
Transfer your dough to a different bowl that has the oil spread around it.  Roll the dough around the oil to keep things moist.  Cover the bowl with a towel and put in a warm area to rise.  Let it rise for about half an hour.

Now let science take over.
Walk away.  Watch a video on YouTube.  Do homework.

Come back to nicely risen dough and preheat your oven to 400 degrees.

Whoa!  It grew!
Grease a pan and start to spread out your dough.  Mine magically filled my entire pan and wasn't super thin or thick.  My mom likes to put cornmeal on the bottom of the pan so things crisp up, but I don't have any.  No worries.
Perfect fit!

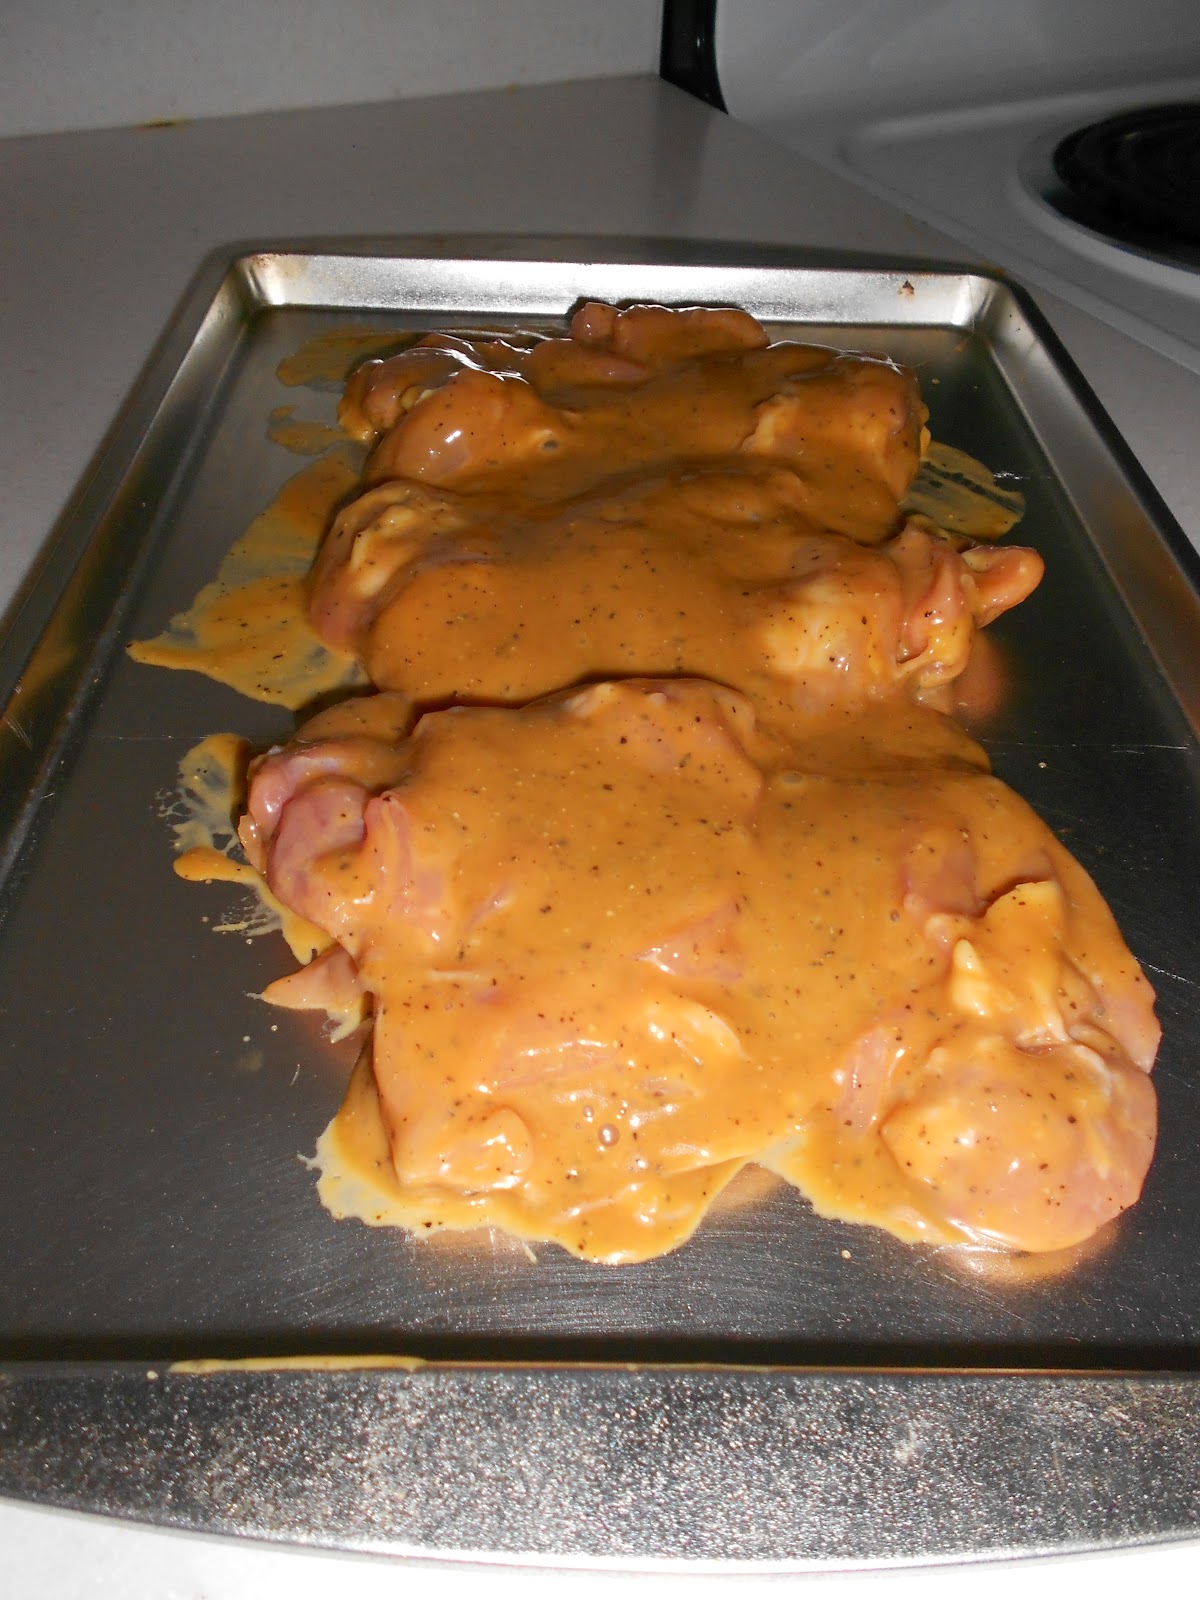
It's topping time!  Top your pizza with anything!  I used spaghetti sauce to get a little saucy.  I also topped it with onions, green peppers, tomatoes and mozzarella cheese.  

Feeling vegetarian tonight.
I baked my pizza for about 25 minutes to make sure the crust was done all the way through.  Now enjoy and make your roommates jealous!

Commence stuffing your face.
So Stony Brook has taught me several things, one being that hot sauce goes on everything.  Pizza, grilled cheese, cake, anything.  Just kidding!  Hot sauce and cake would be terrible.

Monday, June 25, 2012

Chocolate Chip Cookies

First, let me just tell everyone about my weekend.  I basically worked all day Friday between both jobs and just passed out that night.  Bright and early at 6am on Saturday, the fire alarms went off in my building.  I threw on a sweatshirt and went outside with all the other residents to wait for everything to be taken care of.  We all went back in, and I tried to go back to sleep.  The alarms went off again at 7:30!  This time I put on sweatpants and a sweatshirt and went to a diner.  There was no chance of me going back to bed so I treated myself to coffee, a waffle and bacon.  I came back to my room and went to sleep for a couple of hours.

Now this morning, I couldn't sleep anymore so I was baking cookies around 9.  Just as I was about to slip the first batch into the oven, the fire alarm went off again.  I panicked slightly that it was my fault.  It was not, but I was so annoyed by it all over again.  I appreciate that Stony Brook's alarms are indeed working, but this was ridiculous!

Chocolate Chip Cookies

2 sticks of butter, softened
3/4 c. sugar
3/4 c. brown sugar
1 egg
1 t. vanilla

2 1/4 c. flour
1 t. baking soda
chocolate chips

Preheat your oven to 375 degrees.

One, make sure your butter is really softened.  I don't know what I was thinking this morning when I just took mine out of the fridge and went at it.  I was impatient?  (Another note: at home, I follow a recipe from this very old and battered Betty Crocker Kids Baking Book which uses half butter and half shortening.)

Cream together the butter, sugars, egg and vanilla in one mixing bowl.  Of course, my not-soft-butter took extra coaxing.  It's a good thing I hadn't done an arm workout in a while.

Cold butter.  No bueno.

In a separate bowl, combine the flour and baking soda.

I have whole wheat flour only because it comes in smaller bags.
I get scared I won't use it all.

Slowly start to incorporate the dry ingredients with the wet ingredients.  Add as many chocolate chips as you wish.  I used chocolate chunks to be cool.
And eat!  Just kidding, bake if you wish.

Place spoonfuls of the dough onto an ungreased baking sheet and pop them into the oven for about ten minutes.  The bottoms should look firm and browned.  Transfer to a college style cooling rack.

And this is when the fire alarm will go off.
Yum and hooray!  You weren't the one to set off the fire alarms, hopefully.  I'm taking this to tour guiding tomorrow.  We give two tours a day, and we're all always starving after the first so I'll be bringing sustenance again.
Let's remember our patience, and let them cool.

Thursday, June 21, 2012

Peanut Chicken Stir Fry

It's extremely hot here in Stony Brook; I'm talking high 90s!  I nearly melted at the gym this morning, and it was 7:30am!  Isn't it supposed to be cooler in the morning?  So tonight I made a hot dish because that makes sense.  I mean, my apartment does have air conditioning.

Peanut Chicken Stir Fry

2 chicken breasts
1/4 c. flour
1/3 c. peanut butter
No need for this girl to buy a pre-made seasoning packet.
1/3 c. soy sauce
1 T. garlic powder
1 t. pepper
oil


I first cubed up the chicken into equal-ish parts and cut off any funky fatty bits.  I put the flour into a mixing bowl, and then dredged the chicken through the flour.  Dredge is a word right?  I tossed the chicken in the flour?
Beware of the oil spitting out at you!


To make the sauce, I mixed the peanut butter, soy sauce, garlic powder (use the real thing if you have it!), and pepper in a bowl.  Be gentle because although the peanut butter may put up a fight to be smoothed out, it will give in.

Heat a pan on the stove-top and coat it with oil.  Carefully put the chicken in the pan and commence "stir-frying".  The chicken will be cooked through in about 10 minutes.  I cut a piece in half to see if there was any pink in the middle.  

Once the chicken is cooked, you can add any vegetables to your stir fry.  I had baby carrots, frozen green beans and that red onion that I'm trying to get rid of.

Just as hot as it is outside!
Going to be eating leftovers!


Now, you can stir in the sauce and reduce the heat a tad.  I actually added a splash of water to the pan and covered it for a few minutes.  I wanted to make sure my frozen vegetables thawed.


And after you have used a million dishes to create this, you can eat!  I served mine over brown rice, which I cooked correctly this time.

I made this dish this past winter with my gal pals, and they were so skeptical of using peanut butter.  I showed them!  This one is super yummy!

Monday, June 18, 2012

Beef Stroganoff?

I made beef stroganoff the other night, or at least I'm going to call it stroganoff.  I googled actual recipes for beef stroganoff to figure what it entails, and I believe I'm pretty close, minus any wine that is.  Being under-aged can be a drag, I only want the wine for cooking, I swear!

Beef Stroganoff College Style
Thanks for the shirt, Mom!  It says: Wisconsin Girl, Come smell the dairy air.

2 lbs. ground beef
1 package of sliced mushrooms
1/4 of an onion, thinly sliced
2 T. butter
1/4 t. garlic powder
1 can cream of mushroom soup
salt and pepper to taste

First, melt the butter in your saucepan on a low heat, and then add the onions and mushrooms.  I used baby portobella mushrooms and a red onion, but use whatever you'd like or have around.

Hello, baby bellas!
Add the garlic powder (or real garlic if you're fancy), and stir everything.  Cover the pan to let everything get soft and better acquainted.

Once the onions and mushrooms are soft, put them into a separate bowl to hang out for a while.

Okay so here's the deal, I buy a typical package of ground beef at the store and then split it into two or three Tupperware containers that go in the freezer.  So I just guessed that I had about 2 lbs.

Brown your beef in the same pan you used earlier.  There is no need to dirty another dish.  Pour off any grease and salt and pepper the beef to taste.  I like things peppery so I'm a little heavy handed sometimes.

Open your can of mushroom soup and pour into the pan with the beef.  Stir it on up and keep everything on a low heat.

Bubbling, beefy awesomeness!
Add the mushrooms and onions back into the pan to incorporate them.  Let everything heat through and declare it done once it has started to bubble.

I served my stroganoff over noodles and called it a day.  Do you know that I never used to eat mushrooms until I got to college?  Crazy, right?!  I blame my friend Kelsey because while I want to put bell peppers in everything, she wants to put mushrooms in everything.

Looks more colorful now.
My mom sent me with a huge package of noodles that were unopened and from my graduation party last semester.  I want to finish the bag this summer so more noodle dishes to come!


Saturday, June 16, 2012

Cheater Enchiladas

This is a pretty great reason to be on Long Island for the summer.
What do you do after you spend a day at the beach?  You finally use the leftover taco meat/rice mixture from the stuffed peppers earlier in the week.  I made cheater enchiladas!  Okay, I shouldn't call them cheater enchiladas, I should say resourceful...?

I'm sorry for the lack of pictures, but try and imagine the process.

Resourceful Enchiladas

leftover taco meat
tortillas
spaghetti sauce
shredded cheese

Preheat the oven to 375 degrees.

They look legitimate!
Place a decent amount of the meat onto a tortilla.  Then roll it up and place it in a baking dish.  Continue until you've used all the meat.  (I also magically had enough tortillas for my meat.  Score!)

Top your rolls with spaghetti sauce.  I smeared the sauce all over so the tortillas wouldn't be too dry.

Now, top it with all the leftover shredded cheese in your refrigerator and pop them into the oven.

Mine were done in 15 minutes, and the cheese was nice and melty.

These were pretty great if you ask me, and I'll be eating the rest tomorrow.  And probably the next day.

Daddy's girl!

Now I'd like to take the time to do an early Father's Day shout out: Happy Father's Day, Daddy!  I miss you!

Wednesday, June 13, 2012

Mexican Stuffed Peppers

Hola Internet!  

Tonight I made Mexican stuffed peppers, which I have been excited about all week because I was going to use so many things in my fridge.  However, while they were tasty, I am going to include some notes of things that I would have done differently.  Also, I don't have measurements for this one.  Let's call it a work in progress, shall we?

Mexican Stuffed Peppers

bell peppers (in the color of your choice)
ground beef
1 packet of taco seasoning
cooked rice
spaghetti sauce
shredded cheese

Preheat your oven to 350 degrees.

Sizzling with excitement!
Brown your ground beef in a pan, and then drain off the fat.  Last month, I had a lapse in judgement and I poured the fat into the sink.  It's not a good idea, trust me.  You will thoroughly have to scrub it out.

Add the taco seasoning to your beef.  I found this chipotle flavored one, and it's a zinger!

You can leave your beef in the pan on a low heat setting for now.

Mix up your rice and spaghetti sauce in a bowl.  I have spaghetti sauce in my fridge, but I suppose you could also do this with salsa if you were feeling fancy.  I basically mixed in enough sauce in to make it look like Spanish rice.
Hello, Minute Rice from the night before!


This is my favorite vegetable!
Halve the peppers and remove the seeds.  Give them a pep talk about being stuffed.  They might be nervous.

Now, take your beef of the heat and incorporate it with the rice mixture, and you're ready to commence stuffing!  Fill your peppers and place them in a baking dish.

Here comes the part that I would have done differently: I would have poured more spaghetti sauce over the peppers for more liquid while they were baking.  It would have made the pepper itself softer.

Top the peppers with shredded cheese.  I had Mexican cheese on hand, but use whatever you have.  
Hay caliente!


Send the peppers into the oven for about 15-18 minutes.

Again, I ask you to be patient because I know you're excited to eat these spicy little vessels of meat and rice!

I don't eat in the dark.  My camera's a drama queen.


I only had one pepper and now have lot of the meat/rice mixture.  So stay tuned to see what I do the rest of this week with the leftovers!  Wish me luck!

Tuesday, June 12, 2012

Mustard Chicken

This post is not going to be about how I somehow messed up Minute Rice that was supposed to accompany my mustard chicken.  Nope, because the chicken turned out well, and that's all that matters.

My roommate was skeptical of my creation, but I learned from my parents that salad dressing can go on anything.  Seriously, they put it on chicken, fish, anything!  So smart those parents of mine.

Mustard Chicken

3 or 4 boneless, skinless chicken breasts
1/2 c. honey mustard salad dressing
1/4 c. teriyaki sauce (or soy sauce)
1/2 t. pepper
1/4 t. salt

Preheat your oven to 375 degrees.

Mix the dressing, teriyaki sauce, pepper and salt in a bowl.

Don't be skeptical like my roommate!  This will be wonderful!

Dunk and dip your chicken on in.  I suppose this would also be a good marinade, and then you could put the chicken on the grill.  I don't have a grill, and usually I don't remember to marinate my chicken.  It's too much work to do in the mornings.

Anyway, I actually used boneless chicken thighs because that's what I had.  So basically any chicken parts work.

Do you think the chicken enjoys this bath of sorts?
I poured the rest of the sauce over the chicken.


I baked my chicken on a cookie sheet for about twenty minutes.  Note that thicker pieces may take longer.

And now you've made a quick chicken dinner regardless if you messed up the rice!  What a breeze, right?

Look! I have white plates too!
Any bets as to how long it will take me to finish this?


I recommend ice cream after dinner and finally watching the season finale of Modern Family.  I totally started tearing up at the end, and then, ate more ice cream.  I'm also going to start working at Friendly's!  Hooray, more ice cream!


Sunday, June 10, 2012

Lemon Poppy Seed Muffins

So what do you do to use up egg substitute that expires soon?  You make Lemon Poppy Seed Muffins for your tour guide training in the morning!  (I don't have a good reason for having egg substitute instead of real eggs.)

Also, this a great way to procrastinate on reading for class or doing your laundry!  Actually, someone else's clothing is in the washing machines, and I'm not the type of person to dump out their laundry onto the floor.

Onto the muffin making!  Warning: This recipe makes a lot of muffins!

Lemon Poppy Seed Muffins
My bowl looks really shiny, right?
1 box lemon cake mix
1 package lemon instant pudding
1 c. boiling water
1/2 c. oil
1 t. vanilla
4 eggs
1/3 c. poppy seeds

I wish this recipe were easier, but you'll just have to get through it.

Preheat your oven to 350 degrees.


Now you dump everything in the bowl.

Interesting start to a muffin batter...
Then, you mix and that's it!  My batter took some beating because I may or may not have had the lemon pudding since I last made these in...I want to say January...Does instant pudding expire?  I don't believe so, and it's also too late for me to check the box because it is now in the paper recycle bin.

Nice looking batter!
After your batter looks wonderful, portion it into your greased muffin tin.  (Is it a tin or pan?)  I filled mine about halfway, and I would guess that I have the normal sized muffin tin.  It doesn't make gigantic muffins but not mini ones either.

I baked mine for about 15 minutes or until they receive the toothpick test seal of approval.  (The toothpick test is when you stick a toothpick into a muffin and if it comes out clean, they are done.  If not keep them in the oven a little longer.)

If you're making really big muffins, bake them longer, and do the opposite for mini muffins.

Make sure to cool the muffins once they're done for a while in the pan before removing them.  After a while, transfer them to a cooling rack (a.k.a. plastic plates).

If you're like me and only have one muffin tin, you'll need to grease up the pan and do it all over again until you don't have any batter left.

You've now made super, simple muffins!

Oops!  Looks like one is missing...
Some tips:

To boil water without a tea kettle or pot, microwave it in your measuring cup!

If you don't have a toothpick, use a knife to test the muffins.

Don't leave your mess in the sink while the muffins are baking.  Your roommate will inevitably come in a need to use the sink.  You will be embarrassed but offer her a muffin later because she's working hard doing a lab report.

And tips on getting poppy seed out of your teeth would now be most appreciated!

Friday, June 8, 2012

Hello World!

Are you there Internet?  It's me Emily!


Well it's early summer, and while I might be taking summer classes here at Stony Brook University (Go Seawolves!) and giving tours of the campus, I've been getting bored.  So I shall give this blogging business a try and upload my cooking triumphs.  I will also include photos, recipes and tips.  


A little bit about me: I'm going to be a sophomore in the fall and am majoring in journalism.  This is one type of writing, right?  Anyway, I live in an apartment on campus and am cooking all my meals.  I'm a college gal with an appetite for writing and cooking.  So read please!  Oh, and I'd appreciate any feedback!  This includes grammar mistakes, because although I successfully passed the grammar course here, I'm prone to mistakes anyway.


These babies smelled up the apartment with peanut butter goodness!

And with that I am uploading photos of the peanut butter cookies I made this afternoon.


Oh, and I do not claim to be using original recipes!  I learned a lot about cooking from my mom and dad (both of whom are great little chefs themselves), but I also use the Internet to find recipes.


Peanut Butter Cookies


1 c. unsalted butter, softened
1 c. white sugar
1 c. light brown sugar
2 eggs
1 c. peanut butter
1 t. vanilla extract


2 1/2 c. flour
1 t. salt
1 t. baking soda


Preheat your oven to 375 degrees.


First, I creamed together the butter and sugars in a bowl.  Let me tell you, growing up I always used my mom's Kitchen Aid stand mixer so now being without, baking requires some serious arm muscles.  To prevent baker's arm (when one arm becomes bigger than the other because you always use the dominant one to mix things), switch arms.  You will make a mess, but you will clean it up before your roommates notice.


So you've done the creaming, now keep mixing and add the eggs, peanut butter and vanilla.  I'll be honest now, I never measure vanilla.  I just dump.


Next, take a separate bowl and mix together your dry ingredients.  I know you always read or hear about sifting your flour, but as a college gal, I have limited space and limited utensils.


Combine your wet and dry ingredients.  If you are using a mixer and not your own brute strength, be sure to add the dry ingredients slowly.  No need for huge messes, only small ones.


Hopefully everything looks wonderful and incorporated by now.  I used a spoon to portion the dough onto my ungreased cookie sheets.  To create the fun and classic design on top, use a fork to make indentations into the dough balls.  Send your cookies into the oven for about 12 minutes or until they look done.  I don't have a clever saying like "golden brown" because they're peanut butter cookies.  They go in brown and come out brown.


Seriously, don't you want to try these now?!
Once, you've taken your cookies out, you need to let them cool.  Transfer to a cooling rack, or in my case, a couple of your plastic dinner plates.  Patience is needed so you don't burn your mouth because you are so excited.


Hope you like!  Better photos and recipes and humorous banter to come!